A simple how to for you to create your own homemade vanilla extract, using just two ingredients and less than 30 minutes.
Like many things in life a few extra minutes of time and care can really make all the difference. Homemade vanilla extract is one of those things. Sure you can buy a tiny bottle off the shelf and spend a little extra for that convenience and that is ok. But a few minutes, a couple of bottles, and two ingredients will give you three times the amount at the store for way less cost. Oh and by the way, it will taste better and be made all by you!
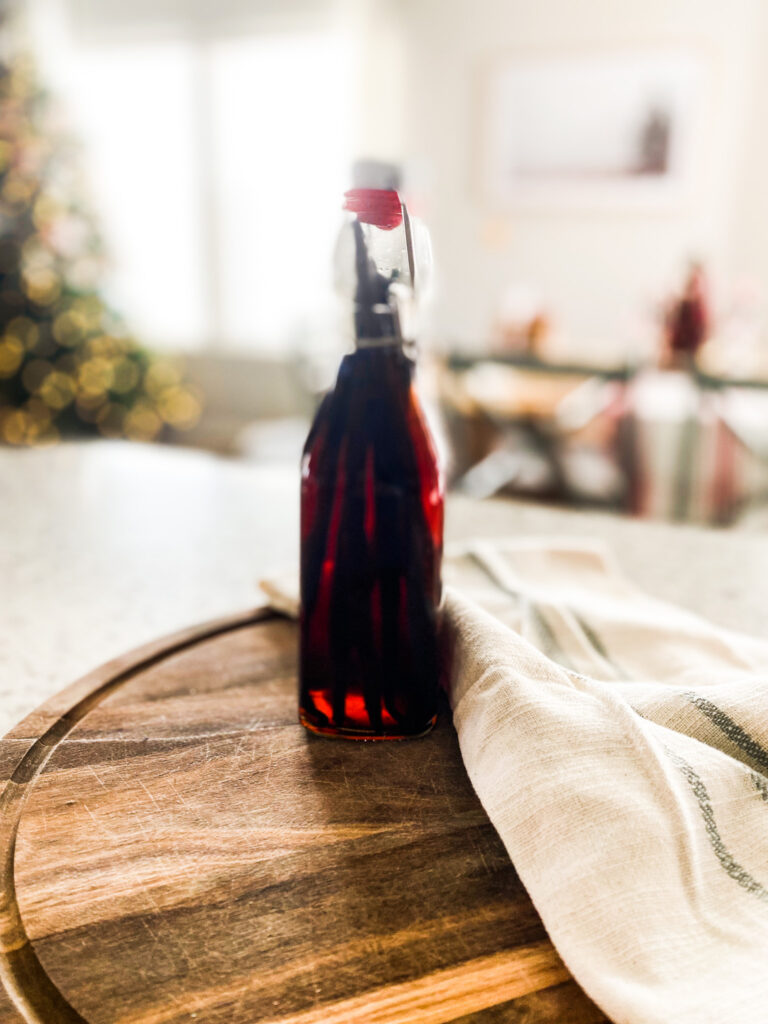
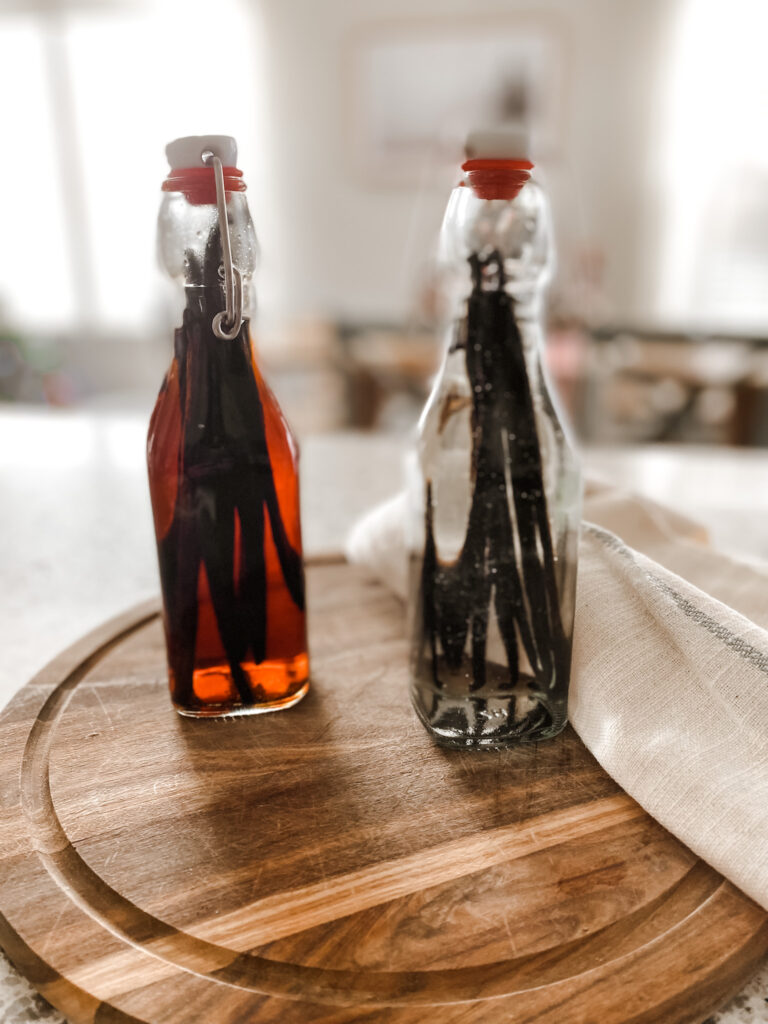
Vanilla extract uses just two simple ingredients, vanilla beans and vodka. For this type of homemade DIY, the cost and effort is in the start up. You will want to purchase a few reusable bottles to store the vanilla in and then the vanilla beans and vodka. For the best tasting product, try to purchase quality beans and then the vodka itself can be the most inexpensive brand. From there, you place the two ingredients in the bottles and wait. The hardest part about homemade vanilla extract is the waiting. You do need to allow the extract to ferment for 6-12 months and give the bottles a shake about a week to every two weeks. Not a whole lot of effort, but just a little patience and it will be worth it. The longer it sits, the deeper the color and more intense the flavor.
Once the vanilla extract is ready, you can use the extract in all of your baking or gift them to friends and family!
Cozy Tips
- Purchase the bottles ahead of time before making the extract so that you have them ready to fill.
- Slice the vanilla beans length wise to expose the beans themselves rather than chopping them.
- Set a calendar reminder for at least twice a month to gently shake the bottles.
- Allow at least 6 months for the extract to develop before using.
- Reuse the bottles and add a cute label to them!
- Homemade vanilla extract makes a sweet gift for family and friends!
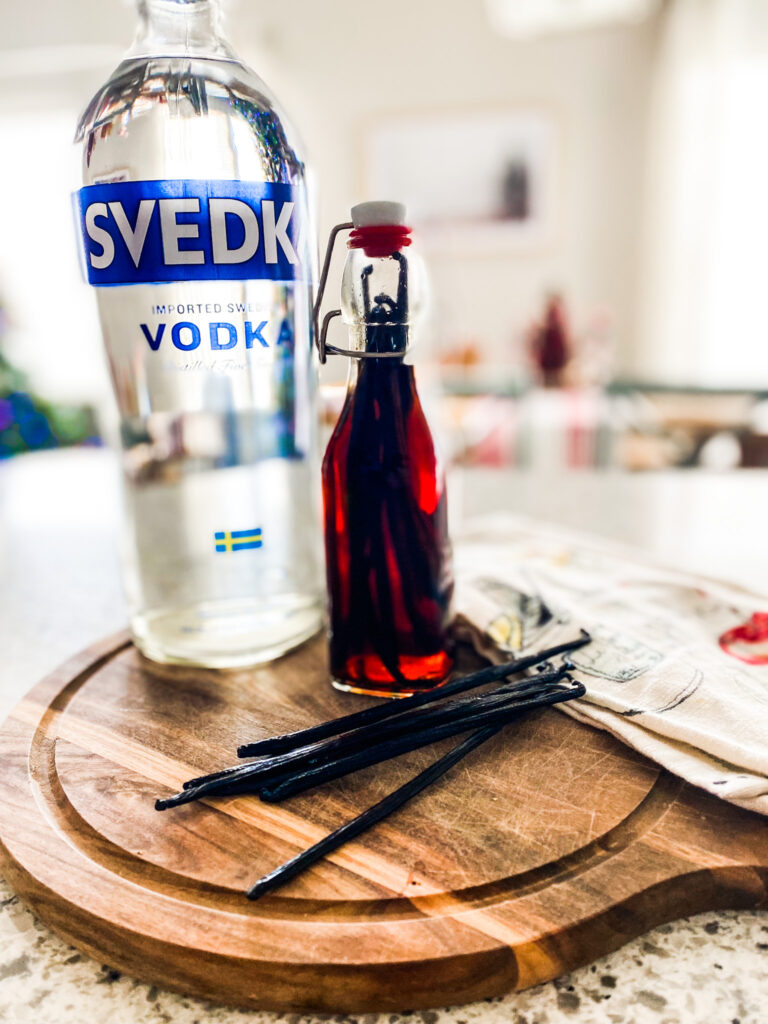
Ingredients for Homemade Vanilla Extract
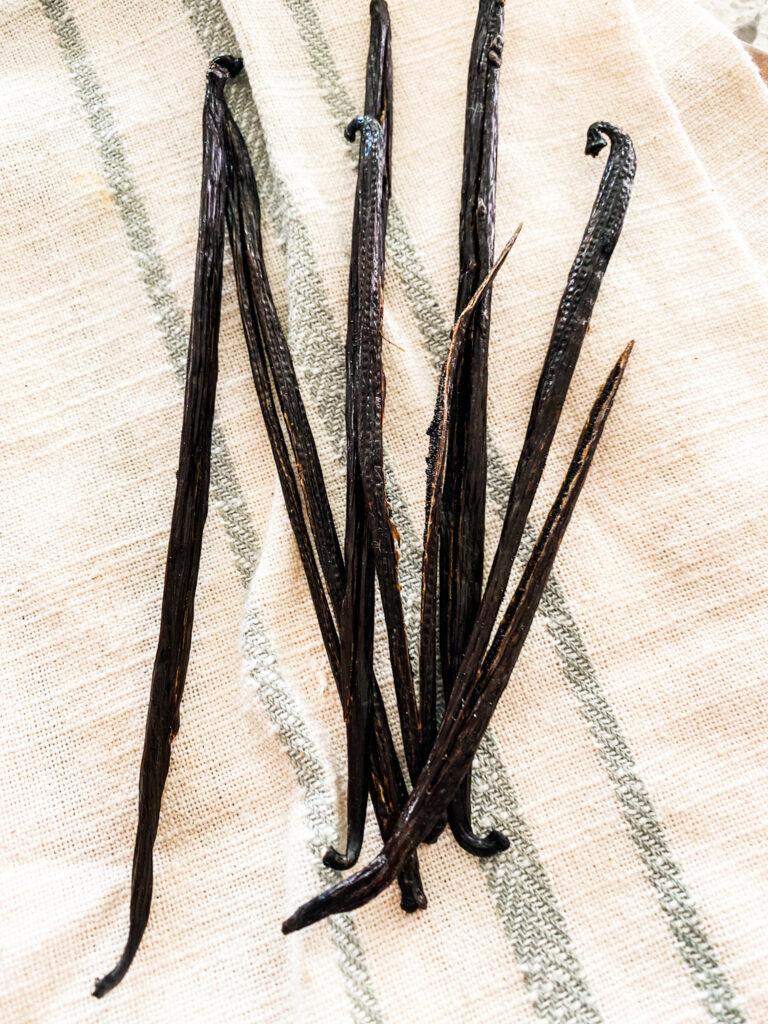
- Vanilla Beans (Madagascar or Tahitian variation of Vanilla beans will do, I personally prefer Madagascar.)
- Vodka (Any brand will work, however a lower grade vodka is probably the best for this purpose.)
Materials for Homemade Vanilla Extract
The Cozy Details
Step 1: Gather all of your materials and ingredients together. Lengthwise, slice six vanilla beans and place them into a bottle.
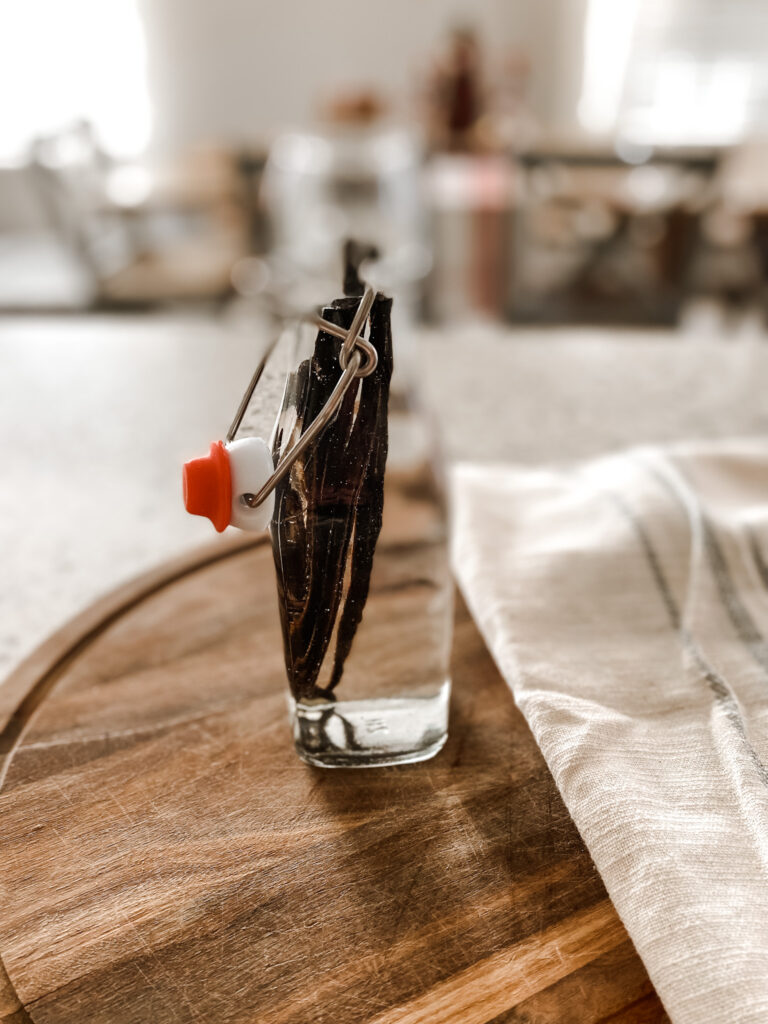
Step 2: Next, fill the bottle with vodka. Gently shake the bottle back and forth. Allow the extract to develop in a pantry or cabinet for 6 to 12 months. Every week to weeks, give the extract another gentle shake.
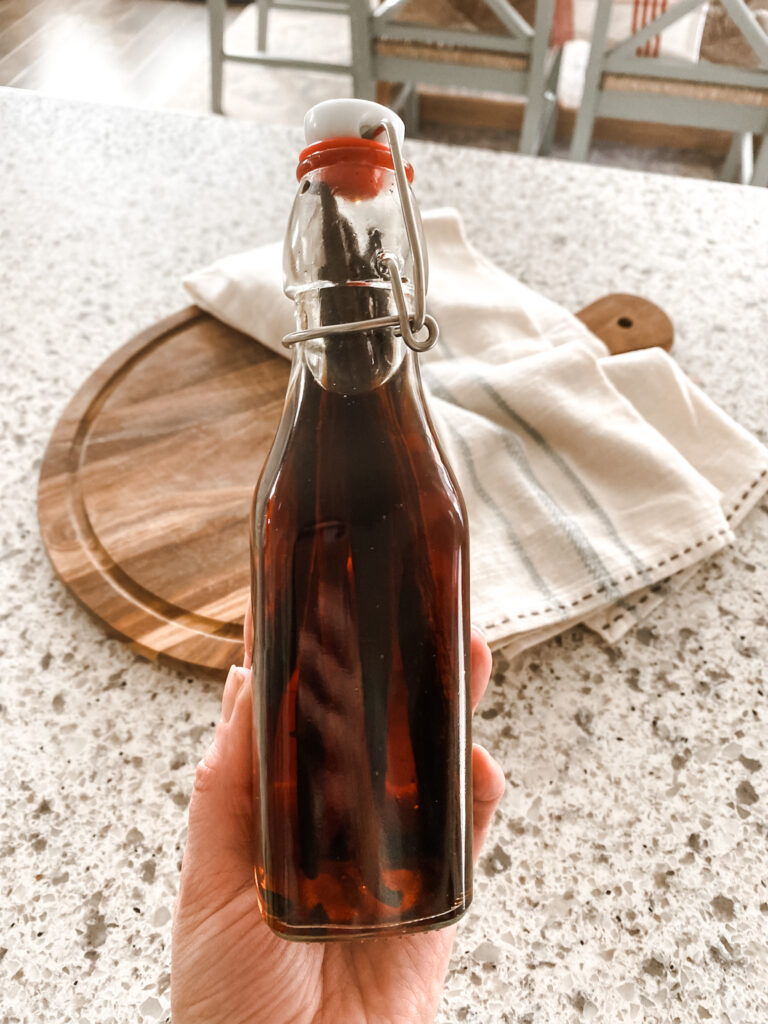
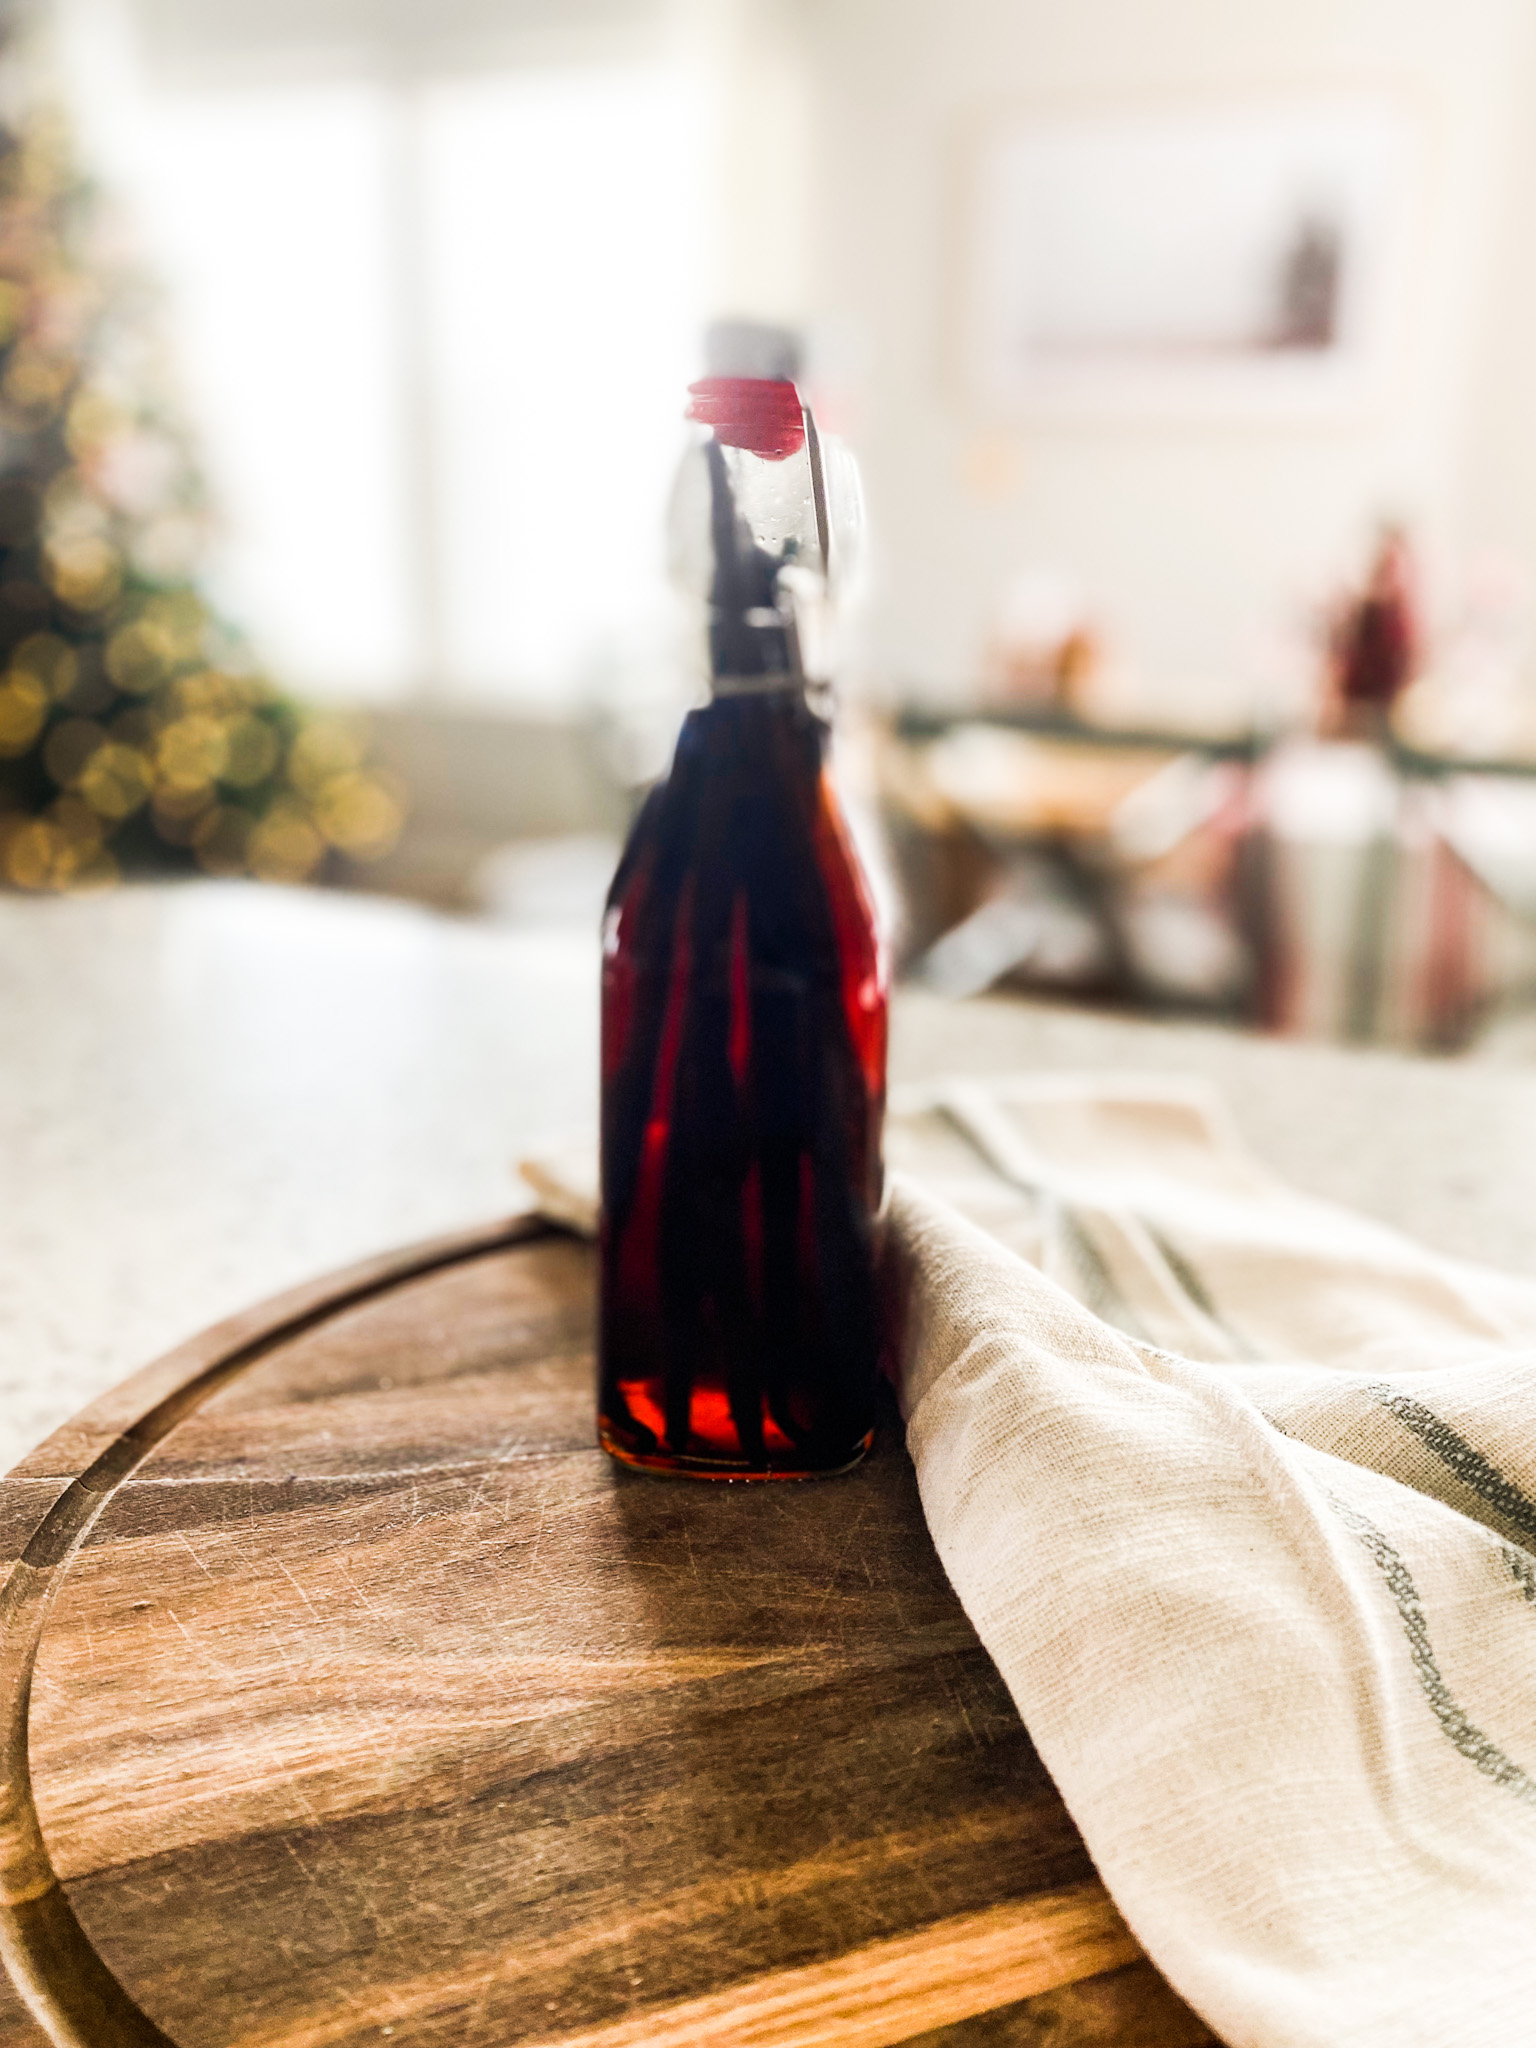
Step 3: Once developed to a dark maple color and the alcohol scent is mostly gone, you can use the extract for cooking and baking. Use in a few of my other recipes here or gift a bottle to friends and family in a basket with a few other baking treats!
Homemade Vanilla Extract
A simple how to for you to create your own homemade vanilla extract, using just two ingredients and less than 30 minutes.
Instructions
- Gather all of your materials and ingredients.
- Slice the vanilla beans length wise but not all the way through.
- Place 6 opened beans in the bottle.
- Fill the bottle with the vodka.
- Close the bottle and tip the bottle back and forth to mix.
- Store in a dark spot and tip upside down every week for 6- 12 months.
- Once ready to be used, you can either remove or leave the beans.
Notes
You can begin to use your vanilla extract around 6 months, however the longer it sits the better the flavor.
