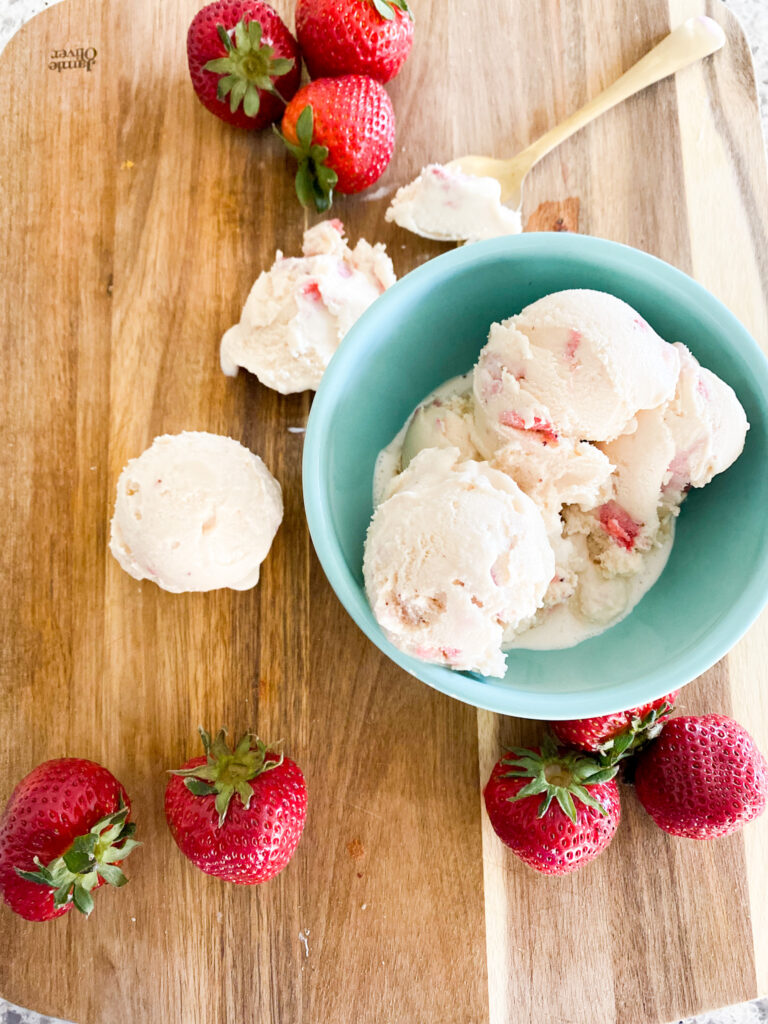
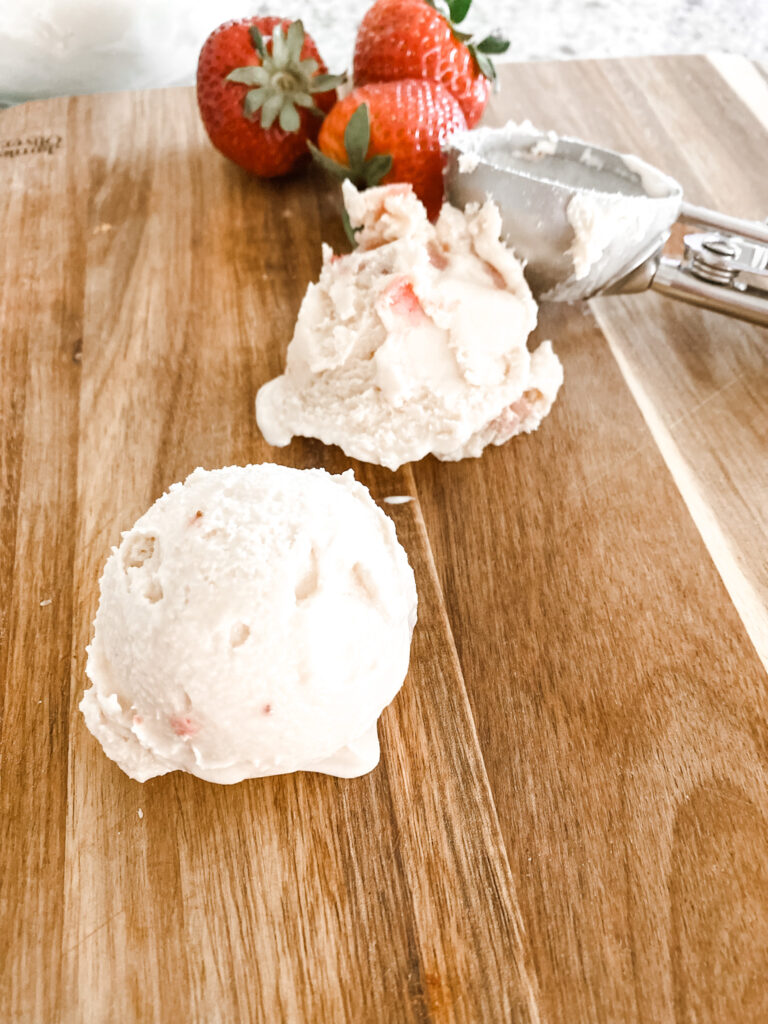
The perfect blend of intense strawberry flavor with honey, make this roasted strawberry honey homemade ice cream your new summer treat!
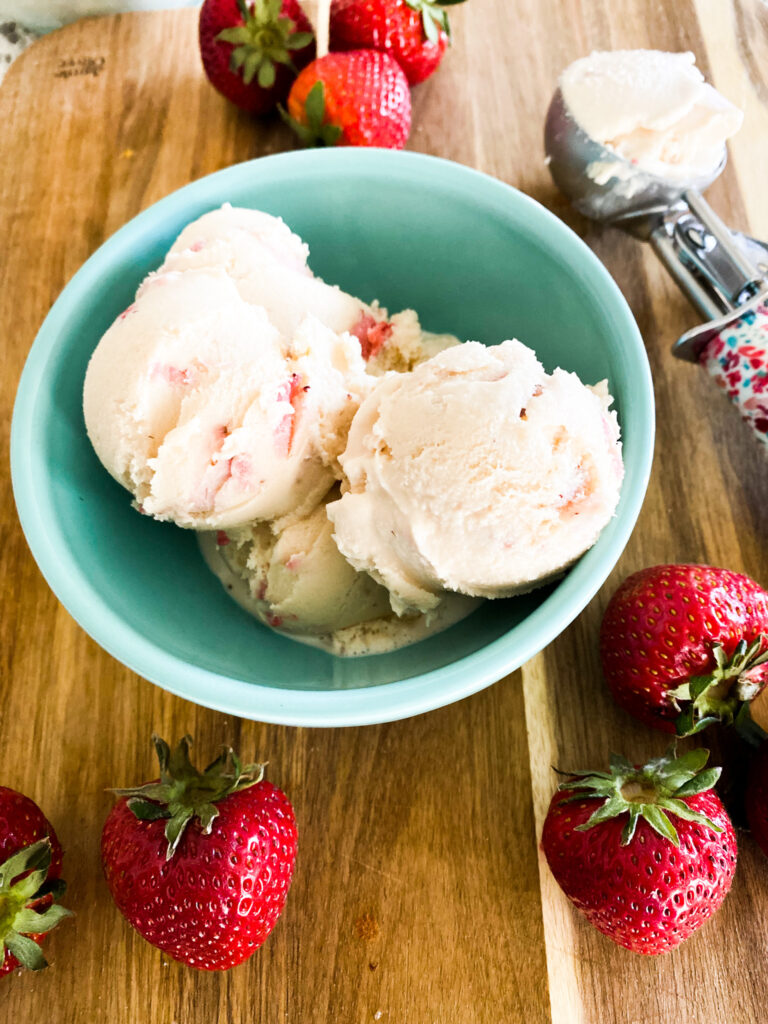
There are few things better than the sweet scent of a warm summer breeze fragrant with apple blossoms, fresh grass and petals. As the days lengthen, my mind drifts to ideals that we should be able to roast smores in the evening and sit on the grass lazily with an ice cream cone dripping in one hand. This roasted strawberry honey homemade ice cream will surely bring you right back to those inviting summer evenings.
Homemade ice cream is not very difficult to make with a little advance planning, but is worth the small amount of extra effort. This ice cream brings together all of the natural celebrations of the coming of spring with the intense strawberry flavor, vanilla and bright honey combined into the perfect creamy scope.
Cozy Tips for Homemade Ice Cream
- The night before take out the bowl container from your ice cream maker and place it into the freezer.
- For a smoother and darker pink color of ice cream you can purée the roasted strawberries.
- If you prefer, pieces of strawberry don't purée them or lightly mash them with a fork or your fingers.
- Store your homemade ice cream in these cute freezer safe ice cream containers.
- Make a strawberry picking party by going to a local farmer or farmer's market then come back home and make this ice cream!
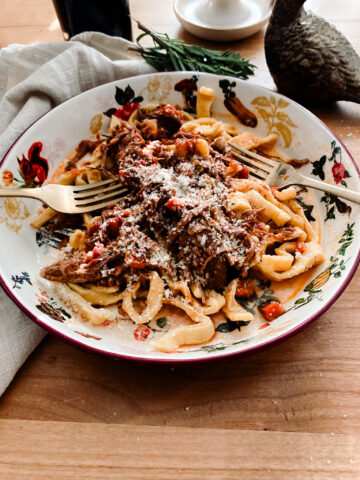
- Pair this ice cream as a sweet treat after a summer meal of my pasta with zucchini, fresh mozzarella, and Italian sausage.
Ingredients for Homemade Ice Cream
- Strawberries
- Honey
- Vanilla
- Eggs
- Half and half
- Sugar
- Ice Cream Maker ( I have had this one for years, it is simple and reliable)
Why Roasted Strawberries?
Roasting the strawberries intensifies the flavor and adds depth to the ice cream. It also breaks down the strawberries along with the juices so that it blends easily into the ice cream mix.
What if I Don't Have Honey?
While the honey is the perfect companion for these strawberries, there are times when honey is not available or you just don't have it on hand. In these cases, just increase the sugar amount by a ¼ cup.
What if I Don't Have an Ice Cream Maker?
I will say, I was always resistant to having an ice cream maker. It's just another kitchen tool that is used only in the Summer and takes up precious cabinet space. However after making ice cream with and without an ice cream maker, I can say the cream maker is definitely worth the extra cost and storage space. The ice cream is blended thoroughly and creamer. If you don't have one on hand then you can place the ice cream maker into a freezer safe container and place it in the freezer. You will need to take it out every 30 minutes or so to stir it to make it the right consistency until fully frozen.
The Cozy Details
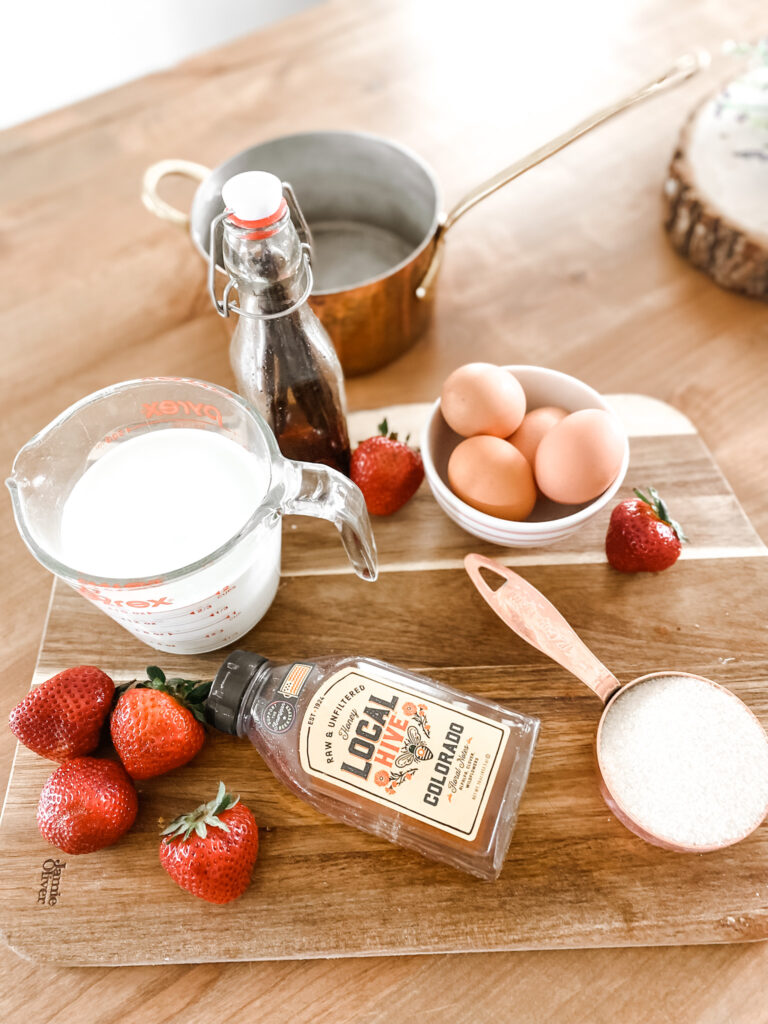
Step 1: Gather all of your ingredients.
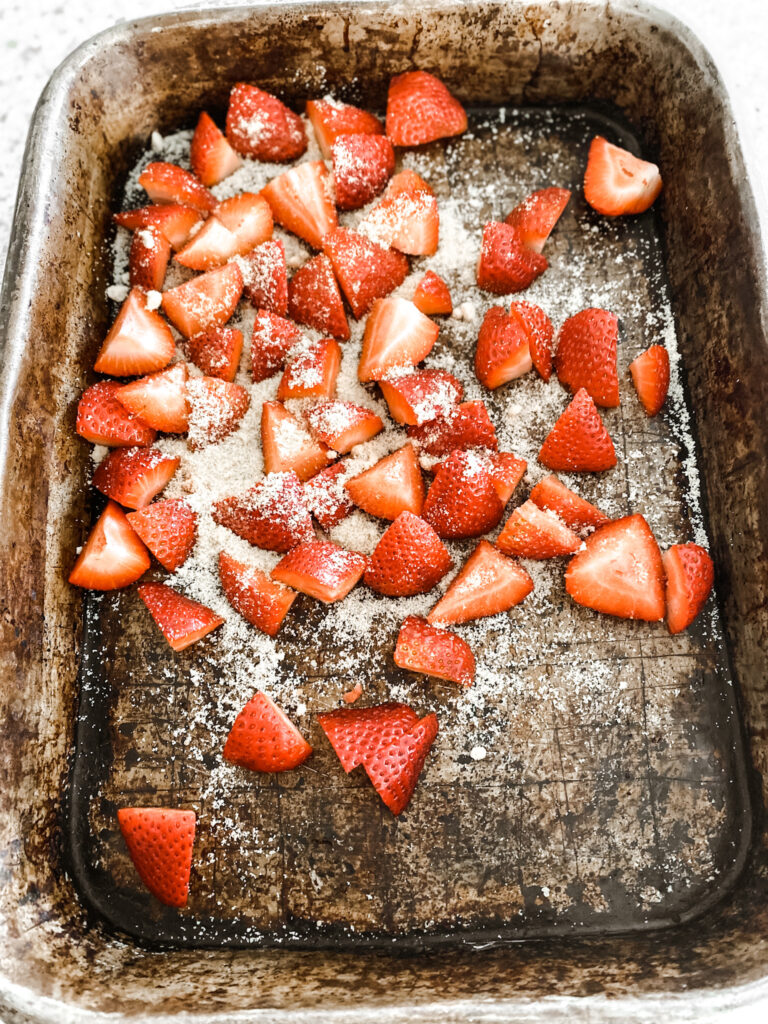
Step 2: Depending on the size of the berries, roughly chop or quarter the berries. Place them in a baking pan or dish and sprinkle two tablespoon of sugar or maple syrup on them.
Step 3: Roast in the oven at 400 degrees F for about 8-10 minutes until the juices of the berries are released. Once done set aside to cool.
Step 4: Meanwhile, mix the sugar and egg yolks into a large bowl until thick and creamy.
Step 5: In a pot over medium heat, mix the cream and vanilla. Bring to a gentle boil.
Step 6: Add about 1-2 tablespoon of the warm cream to the egg yolk mixture and stir together. Then add another 1-2 tablespoon of cream and stir. We are tempering the eggs at this stage which is just bringing them to a warm temperature without cooking them. Once the egg mixture is not cold, slowly pour in the rest of the cream and mix.
Step 7: Add in the roasted strawberries including their juices to the mixture and the honey. Stir to combine.
Step 8: Place the bowl of the ice cream mixture into the refrigerator for a few hours until cold.
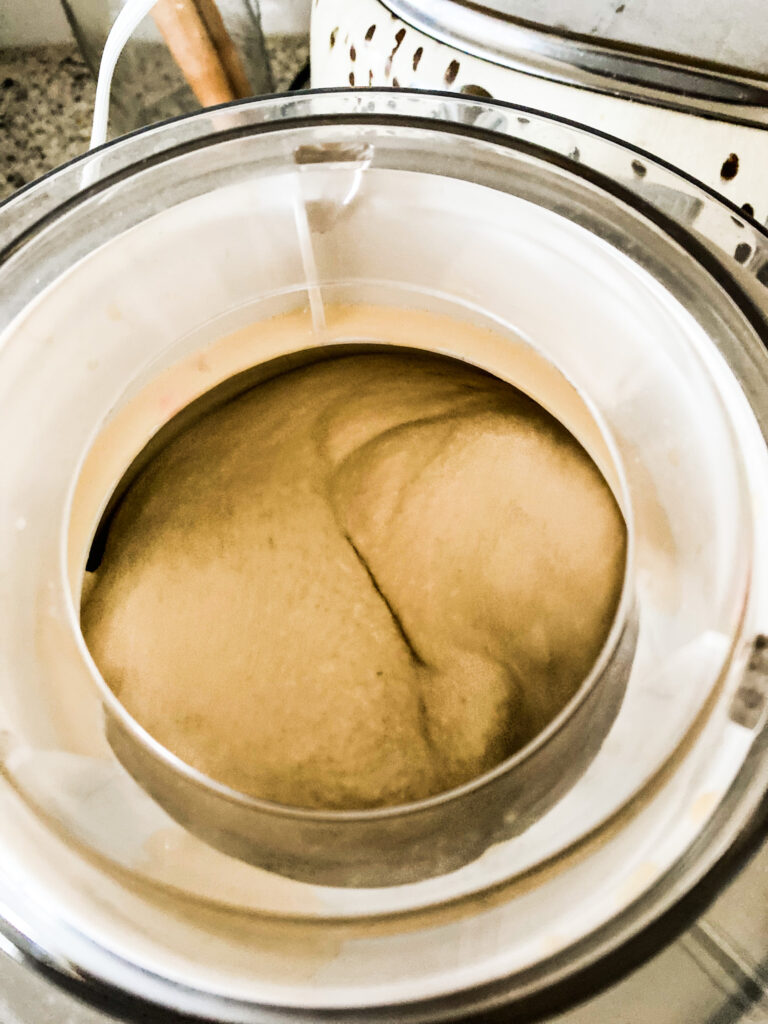
Step 9: Once the ice cream mixture is ready, take your ice cream maker container out of the freezer and place it on the base of the maker. Add in the ice cream mixture and follow the instructions on the ice cream maker from here.
Step 10: After the mixture has turned into ice cream you can now place it into a freezer safe container for about an hour or so to firm up. Then enjoy!
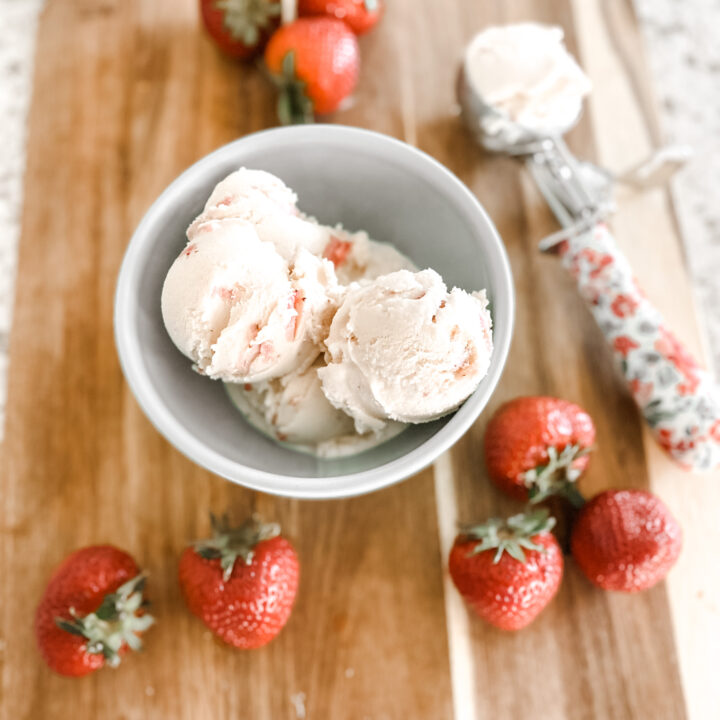
There is something so simple and sweet about homemade ice cream that makes it feel special. It's not an every day or even week event of me, but during these few Summer months I do try and make this homemade ice cream with roasted strawberries and honey for the sweet memories!
Now the only question is, cup or cone?
Homemade Ice Cream: Roasted Strawberry & Honey
The perfect blend of intense strawberry flavor with honey, make this roasted strawberry honey homemade ice cream your new summer treat!
Ingredients
- 1 Pound Strawberries
- 2 Cups Half & Half
- 1 Cup Sugar Plus 2 tablespoon Sugar
- 2 Egg Yolks
- 1 tablespoon Vanilla
- 2 tablespoon Honey
Instructions
- Gather all of your ingredients.
- Depending on the size of the berries, roughly chop or quarter the berries. Place them in a baking pan or dish and sprinkle two tablespoon of sugar or maple syrup on the berries.
- Roast in the oven at 400 degrees F for about 8-10 minutes until the juices of the berries are released. Once done set aside to cool;.
- Meanwhile, mix the sugar and egg yolks into a large bowl until thick and creamy.
- In a pot over medium heat, mix the cream and vanilla. Bring to a gentle boil.
- Add about 1-2 tablespoon of the warm cream to the egg yolk mixture and stir together. Then add another 1-2 tablespoon of cream and stir. We are tempering the eggs at this stage which is just bringing them to a warm temperature without cooking them. Once the egg mixture is not cold, slowly pour in the rest of the cream and mix.
- Add in the roasted strawberries including their juices to the mixture and the honey. Stir to combine.
- Place the bowl of the ice cream mixture into the refrigerator for a few hours until cold.
- Once the ice cream mixture is ready, take your ice cream maker container out of the freezer and place it on the base of the maker. Add in the ice cream mixture and follow the instructions on the ice cream maker from here.
- After the mixture has turned into ice cream you can now place it into a freezer safe container for about an hour or so to firm up. Then enjoy!